When you’ve suffered an arm, shoulder, or wrist injury, one of the first pieces of medical equipment you might encounter is a pouch arm sling. It’s a simple yet vital device designed to support and immobilize your injured arm, promoting comfort and faster healing. However, to reap its full benefits, it’s important to know how to fit and adjust it properly. Wearing a sling incorrectly can cause discomfort, poor circulation, or even delay recovery.
In this detailed guide, we’ll walk you through the step-by-step process of fitting and adjusting a pouch arm sling to ensure it offers maximum comfort and effective support.
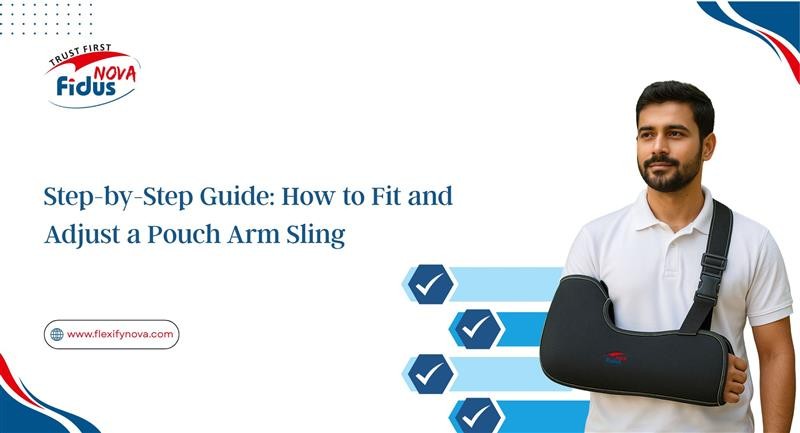
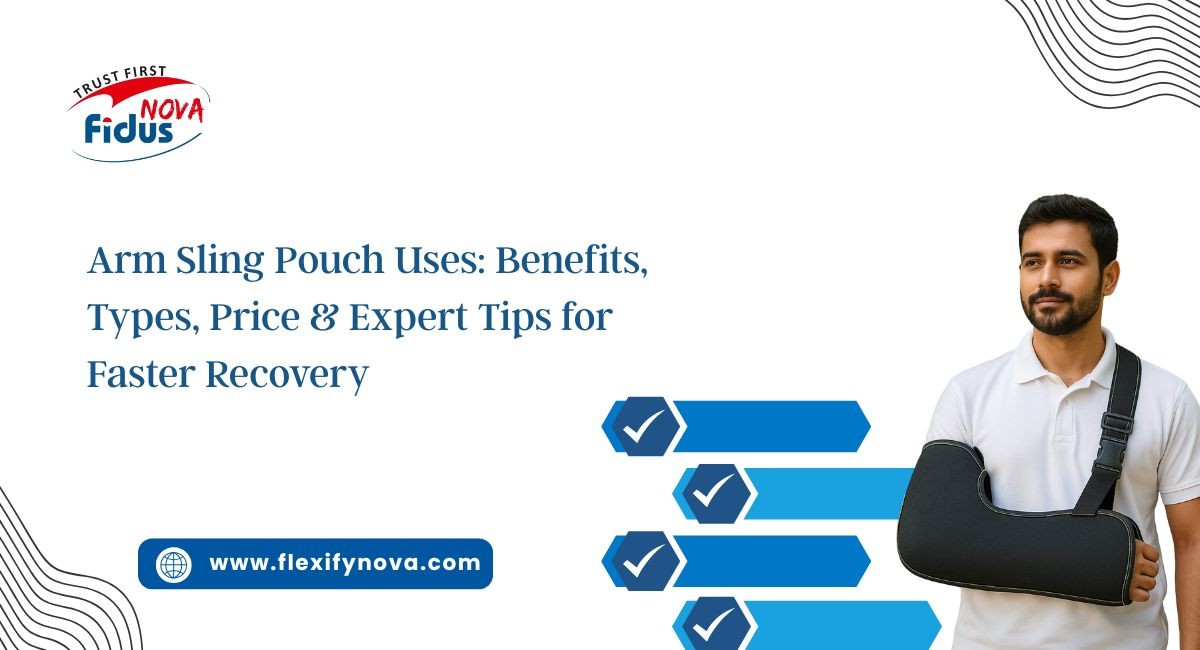
What Is a Pouch Arm Sling?
A pouch arm sling is a fabric support that holds the forearm and hand close to the body. It helps reduce pain and swelling by limiting movement and keeping the arm in a comfortable position. Commonly used after fractures, sprains, shoulder dislocations, or surgeries, this sling distributes the arm’s weight evenly across the shoulder and neck area.
Most pouch slings are made from soft cotton or polyester fabric and come with adjustable straps and Velcro fasteners for easy fitting. They are lightweight, breathable, and can be used on either arm, depending on the injury.
Why Proper Fitting Matters
A properly fitted sling not only ensures comfort but also helps in recovery by maintaining the correct arm position. Here’s why proper adjustment is crucial:
Supports healing: Keeps the injured part immobilized to promote tissue repair.
Prevents strain: Reduces stress on shoulder and neck muscles.
Maintains circulation: Prevents numbness or tingling in the hand and fingers.
Enhances comfort: Reduces unnecessary movement or pressure points.
An incorrectly positioned sling can lead to pain, stiffness, and prolonged recovery time, so taking a few minutes to fit it correctly is well worth it.
Step 1: Choose the Right Size
Before fitting the sling, make sure you have the right size. Pouch arm slings typically come in small, medium, large, or adjustable sizes.
To find your correct fit:
Measure from the elbow to the base of the little finger.
The sling should support this entire length without leaving gaps.
It should not extend beyond the hand or leave the elbow exposed.
If the sling is too short, it won’t provide adequate support; if it’s too long, your arm will hang too low, leading to discomfort and strain.
Step 2: Position the Sling Under the Arm
Once you’ve selected the right size, sit or stand in a relaxed position. Carefully slide the injured arm into the pouch, ensuring that:
The elbow fits snugly into the corner of the sling.
The hand rests slightly above the level of the elbow — this helps reduce swelling.
The sling material fully supports the wrist and forearm without hanging loose.
Make sure the fabric lies flat without any folds that could irritate the skin.
Step 3: Adjust the Shoulder Strap
Most pouch arm slings come with an adjustable shoulder strap that loops around the neck or back. This strap is crucial for maintaining proper arm height.
To adjust it:
Bring the strap around your neck and attach it to the end of the pouch using the provided buckle or Velcro fastener.
Adjust the strap’s length so that your hand is at or slightly above waist level.
The arm should rest comfortably across your abdomen, forming roughly a 90-degree angle at the elbow.
If your hand is hanging too low, shorten the strap. If it feels like it’s pulling your shoulder up, loosen it slightly.
Tip: The strap should feel snug but not tight—you should be able to move your neck comfortably.
Step 4: Check Arm Alignment and Comfort
Once the sling is secured, check the overall alignment and fit:
The hand and wrist should be supported and not hang out of the pouch.
The elbow should be tucked firmly into the sling’s corner.
Your shoulders should remain level — if one shoulder feels pulled, adjust the strap.
The arm should be resting close to the body without twisting or bending awkwardly.
Ensure the sling isn’t pressing against your neck. You can use a soft pad or towel under the strap for added comfort.
Step 5: Fine-Tune for Circulation
After fitting, check for proper circulation in your hand and fingers:
The fingers should feel warm and maintain normal color.
If they become cold, pale, or numb, the sling might be too tight—loosen the strap slightly.
Gently move your fingers from time to time to promote blood flow.
This step is essential because restricted circulation can lead to swelling or tingling sensations.
Step 6: Maintain Proper Posture
Wearing a sling can sometimes make you hunch your shoulders or lean to one side. To avoid this:
Keep your shoulders relaxed and even.
Avoid slouching or leaning to compensate for the sling’s weight.
Try to switch the strap side occasionally (if allowed by your doctor) to prevent neck stiffness.
A good posture ensures you don’t develop secondary pain in your neck, back, or shoulders during recovery.
Step 7: Daily Care and Hygiene
Since you’ll likely wear the sling for extended periods, cleanliness and care are important:
Wash the sling regularly (as per manufacturer instructions).
Check for wear and tear—replace it if the fabric becomes stretched or the strap loosens.
Avoid getting it wet unless it’s made of washable material.
Inspect your skin under the sling daily for redness or irritation.
If you notice any discomfort, adjust the sling or use a soft lining to prevent friction.
Common Mistakes to Avoid
Even with clear instructions, a few common errors can reduce the sling’s effectiveness:
Hand positioned too low: Causes swelling and shoulder strain.
Elbow not supported: Leads to arm fatigue and poor healing.
Strap too tight: Restricts blood flow and causes neck pain.
Wearing the sling too loosely: Fails to immobilize the arm properly.
Ignoring discomfort: Pain is a sign that something isn’t positioned correctly.
If you’re unsure, ask a healthcare provider or physiotherapist to check the fit.
Step 8: When to Adjust or Remove the Sling
You may need to adjust or remove your sling occasionally for hygiene or gentle exercises (as advised by your doctor). Do so carefully:
Remove the sling slowly while supporting your injured arm with your other hand.
Avoid sudden movements that could strain healing tissues.
Reposition it immediately after cleaning or exercising to maintain proper alignment.
Never remove your sling for long periods unless cleared by a medical professional.
Conclusion
A pouch arm sling is a simple yet highly effective medical aid that promotes recovery by keeping your injured arm in a safe and comfortable position. Fitting it correctly can make a significant difference in your healing process, comfort, and overall mobility.
By following the step-by-step guide above, you can ensure your sling provides optimal support—preventing additional strain, improving comfort, and aiding faster recovery. Remember, when in doubt, always consult your healthcare provider for guidance on sling adjustment or usage duration.